 Well, I couldn't just keep on driving, especially when I had 5 minutes to spare, so I took a quick detour and did a quick breeze through. I hadn't been inside 30 seconds before spotting this little beauty...well, not quite a beauty anymore, but look at her potential! I found the owner of the house offered him a fair price and promised to be back in an hour to pick her up...thank goodness he didn't sell her to anyone before I returned. I would have been crushed!
So, I packed up this little curvy vanity AND the matching bench...did I mention the bench came with the vanity? SCORE! Never mind that hideous gold velvet (what is that? velvet? ....gotta love some Eddie Murphy in Coming To America)...I plan on changing that up ASAP!

Step 1: I took all the hardware off the vanity and the hideous seat cushion off the bench and neatly placed all the screws and hardware on the workbench so I wouldn't loose them when it came time to putting everything back together.
Step 2: This was by far the worst part. I washed the entire set with warm soapy water to remove all the dust a debris and musty smells inside the drawers. I let everything dry overnight.
Step 3: I purchased the following items at Taylors Do It Center (stripper, putty knife, steel wool) and proceeded to strip the old peeling veneer off the top of the vanity.


Step 6: Okay, this is where the project starts to get fun. I choose a paint color from the Glidden Better Homes and Gardens line. Great color choices at a good price, and I love that they give you little cards with coordinating colors...genius!!! I chose the color, Antique White for this project, then applied two layers. I let each layer dry fully and sanded between applications to get an extra smooth finish.


Whew!! I know, this is getting boring...BUT, if I inspire you to paint a piece of furniture...smile...then I want you to know all the steps so you don't have to go hunting all over the Internet to get a clear set of directions! Feel free to go get a drink refill, go to the bathroom, whatever!
Okay, the last few steps...
Step 7: I could have stopped here, but I wanted to distress this piece and give it an aged, antiqued look so I took another sand block and sanded the paint off any high point that I wanted to look rubbed. Again, if you have an electric sander you could use it for this step, but I prefer sandpaper or a sand block because you have a little more control. When I say "high point" I mean any areas that stick out and would naturally over time get banged up a bit.


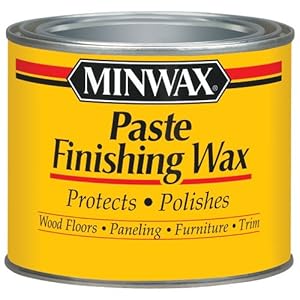 Step 9: The final step is an important one. If you are going to actually use a piece of furniture and plan on it getting some wear and tear then you will need to finish up with a top coat. Now believe it or not, there are more top coat options out there than at the bottle isle at Babies R Us...totally overwhelming! I found that if you are trying to make a piece of furniture look antiqued and want to give it the hand rubbed look, than a finishing paste or wax is the best bet. I chose Minwax Finishing Paste, and basically rubbed 2/3 coats all over this vanity. It looked dull at first, but after I let it sit for 10 minutes, I buffed it out and it looked perfect...not too shiny and bright. I plan to let this piece set for a week or so to fully dry.
And, believe it or not, folks, that is it! Voila, the cliff notes version of antiquing a piece of furniture. Tomorrow I am going to tackle that terrible velvet cushion on the bench. I can hardly wait to rip that nasty fabric off and reupholster this little bench in something more worthy...hmmm, I have a couple of ideas. Tune in soon for the grand reveal!


No comments:
Post a Comment